Create a SolidWorks Part Model of spur gear YG2.5-28
Create a SolidWorks Part Model of spur gear YG2.5-28 shown in the Drawing Sheet using ‘Unwin’s Construction Method’.
Gear Construction Method
The method presented here to draw a typical spur gear is called ‘Unwin’s Construction Method’; it will give an approximate gear figure and not a true involute curve.
You will need the following information about the gear in order to construct it;
-
Pressure angle – Normally 20°
-
? Gear Module - The unit of size which represents how big the gear teeth are.
-
? Pitch Circle Diameter (PCD) – Module x Number of Teeth. The PCD can be considered as the mating diameters between two gears.
-
? Addendum – The part of the tooth above the PCD equal to the Gear Module
-
? Dedendum – The part of the tooth below the PCD equal to 1.25 x the Gear Module
-
? Circular Pitch – The distance from a point on one tooth to the same point on the next tooth equal to the Gear Module x π
-
? Tooth Thickness equal to the Circular Pitch / 2
-
? Root Fillet Radius (an arbitrary size of your choice).
Unwin’s Gear Construction Method
-
Calculate all required dimensions before you begin to sketch or use the equation editor within SolidWorks.
-
Open a new sketch, draw the pitch circle (labelled WHEEL PCD in the figure below). The geometry in the figures has been coloured for clarity. You will not be able to change the colour of the SolidWorks sketch geometry.
-
Draw a vertical tangent line from a quadrant of the pitch circle.
-
Draw a line at 20° to the vertical tangent to denote the line of action
-
Draw a line from the centre of the pitch circle perpendicular to the line of action.
-
This line forms the radius of the base circle, draw the base circle.

Answer:
1. SolidWorks Gear Construction
SolidWorks Part

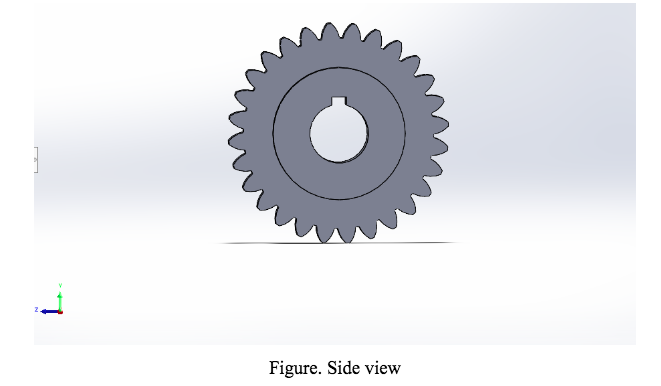

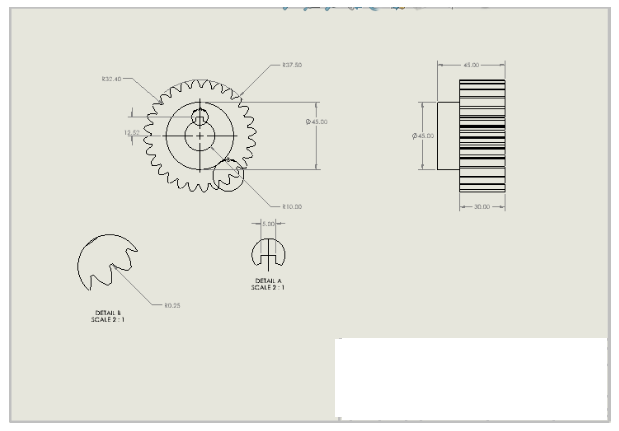
Part Drawing
SolidWorks Part Tutorial
In this tutorial we have to create the part and then create the drawing using the SolidWorks, we have given the part drawing for that we have to construct the 3D part with the appropriate dimensions. The construction and drawing of the part are given as follow:
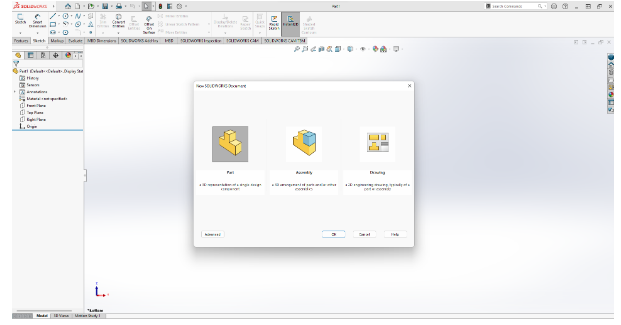
1. First we have to Run the SolidWorks software, after opening it we have to select the option ‘part’ and click ‘ok’ to procced further.
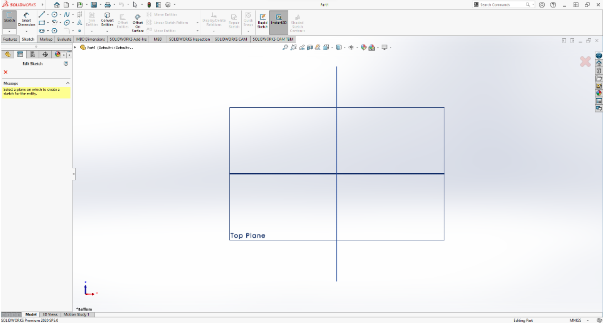
2. Now we have to select the plane to sketch the right view as shown in the part drawing, the selection of the plane is shown below.
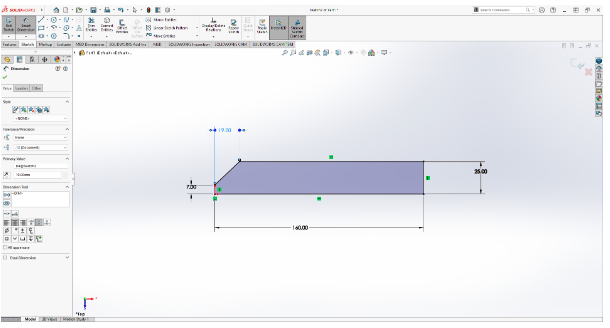
3. Sketching the geometry as given in the drawing with the appropriate dimensions as shown below.
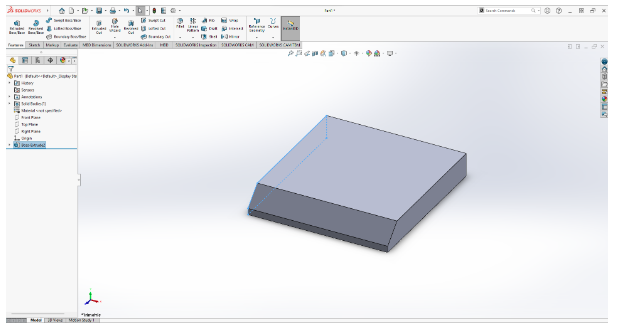
4. now we have to exit the sketch and clicking the feature section will show us features that we can applied on the sketch. Appling the extended Boss to extend 150mm.
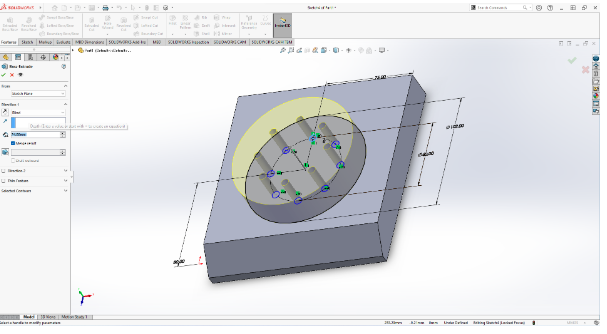
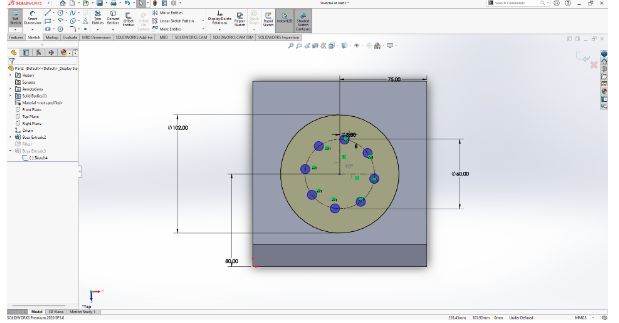
5. select the top surface for the sketch, create the one big circle of diameter of 102mm and one construction circle of 60mm on which we have created eight 8mm diameter small circle with the help of circular pattern with the angle of 8 degree from the vertical line as shown in the below window.
6. selecting the sketch and extend it using the Extended Boss/Base feature up to 24mm, the result for the same shown below.
